Free Plan: Quarter-Circle Corner Shelf
Four curved shelves, every screw hidden. Fits any corner.
Free download. No signup required.
- PDF plan
- Material & cut list
- Step-by-step instructions
✓ Your plan is downloading.
Got your plan? Good. Here's what usually comes next.
The plan's yours to keep — build it whenever. But if you liked this one, here's the next step most builders take from here.
Download didn't start? Get the plan here.Build the machine that cuts the curves for you.
The DIY Smart Saw is a complete plan for building your own CNC carving machine from spare parts and hardware-store components. It walks you through the frame, the moving parts, and the setup, so you end up with a machine that cuts identical curves, letters, and repeated pieces to the exact line. You keep building what you love. The machine just handles the four-times-over cuts that used to eat your afternoon.
See how the DIY Smart Saw works →Disclosure: I may earn a commission if you buy through this link. It doesn't cost you extra.
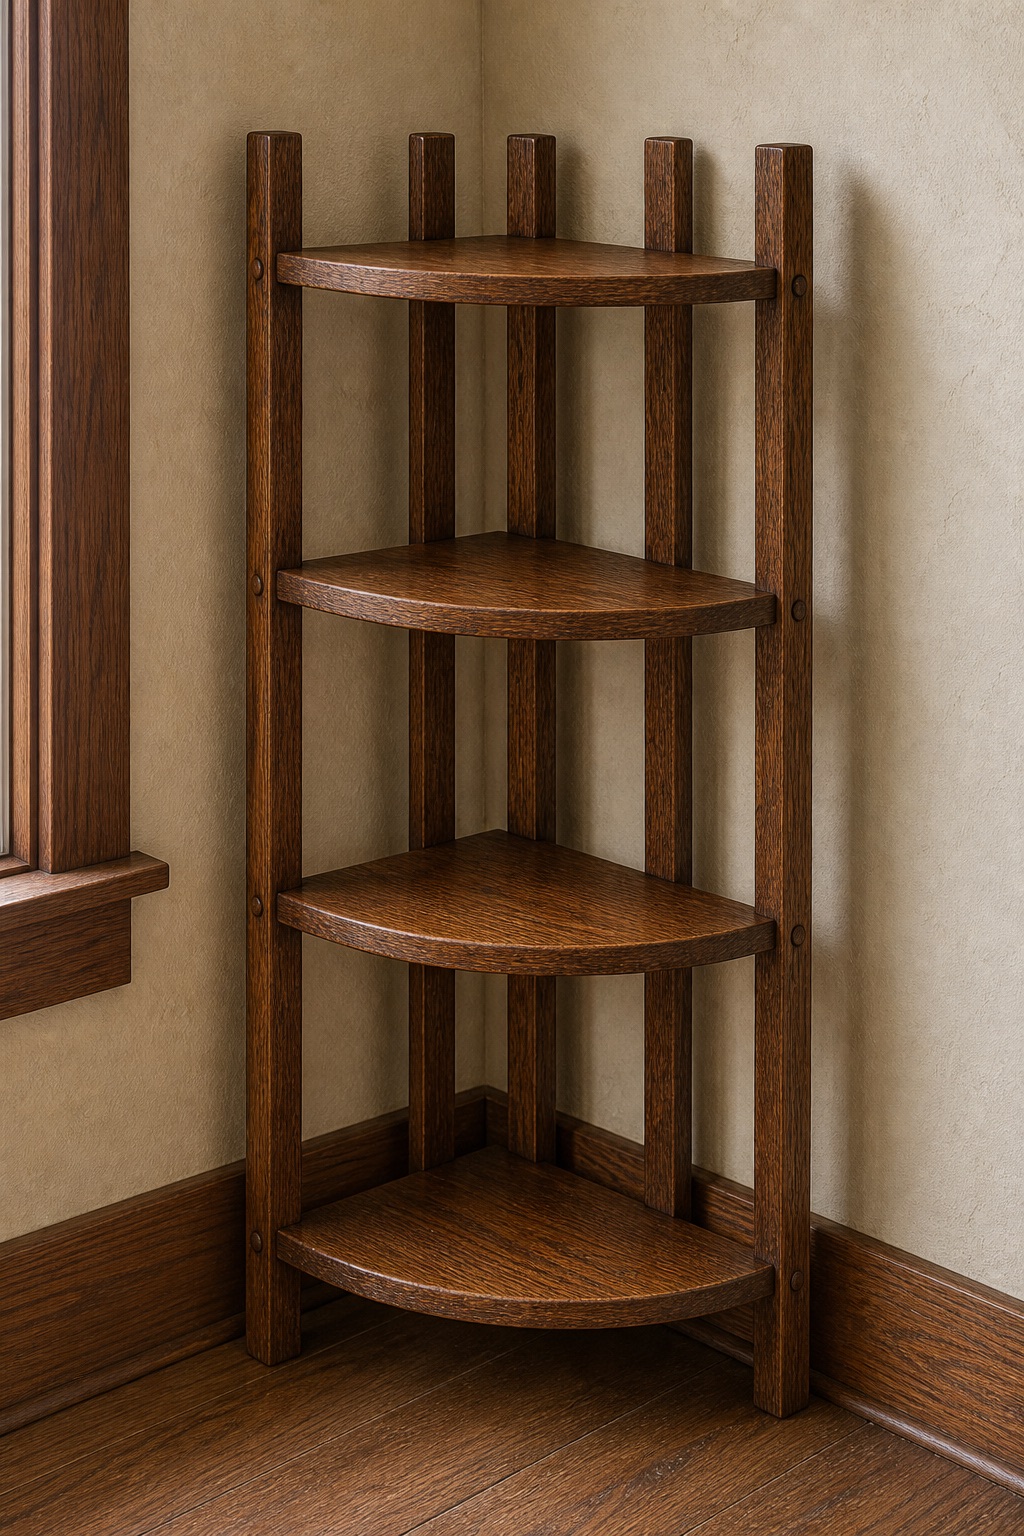
Every room has that one awkward corner. Too small for furniture, too open to leave empty. Most people just let it sit.
This shelf fills it. Four quarter-circle shelves screwed onto two vertical strips. Every screw goes on the wall-side face, so from the front you see clean curves and nothing else. The original design is from 1909 and used oak for under a dollar in materials. Today you're still under $10, and it looks like it came from a furniture store.
The curve is what sells it. It reads like real joinery work, but it's a shape you trace and cut, not a joint you fight. No mortises, no dowels, no clamping. A beginner can finish the whole thing in an afternoon.
Project at a Glance
- Difficulty
- Beginner
- Main materials
- 3/4" oak or poplar (two vertical strips approx. 3/4 x 2 inches, four quarter-circle shelf boards), wood screws, glue, stain or oil finish
- Build time
- About an afternoon
- Tools needed
- Jigsaw or coping saw, drill with countersink bit, screwdriver, orbital sander, a piece of cardboard or scrap for the curve template
- Note
- All screws sit on the back (wall-side) face, so nothing shows from the front. Countersink them so the shelf mounts flat.
Before you cut: make the template first
The whole look depends on the four curves matching. So don't mark each shelf by hand. Make one quarter-circle template out of cardboard or scrap, then trace all four shelves from that one template. Cut a hair outside the line with the jigsaw and sand down to the line. Stack the four shelves together after sanding and check that the curves line up. If one is off, your eye goes straight to it once the shelf is on the wall. For mounting: countersink every screw on the back face so the heads sit below the surface and the vertical strips pull tight to the wall. Mark your screw spots before you drill. From the front, the reader should see four clean curves and not a single fastener.
You came here for a corner shelf. That's one clean, functional build, and the template trick makes the four curves manageable by hand.
But the moment a project asks for the same shape over and over — curves, repeated parts, letters, inlays — hand-cutting turns into the slow, fussy part of the job. Get one off and it shows. That's the work a CNC machine does without a wobble: it cuts the exact same line every single time.
Most woodworkers assume a CNC is a few thousand dollars they'll never spend. The DIY Smart Saw is a plan for building your own carving machine from spare parts and common hardware, for a small fraction of a store-bought unit. It's for the hobbyist who likes building the tools as much as the projects.
Recommended Next Step
Build the machine that cuts the curves for you.
The DIY Smart Saw is a complete plan for building your own CNC carving machine from spare parts and hardware-store components. It walks you through the frame, the moving parts, and the setup, so you end up with a machine that cuts identical curves, letters, and repeated pieces to the exact line. You keep building what you love. The machine just handles the four-times-over cuts that used to eat your afternoon.
DIY Smart Saw
Build your own CNC carving machine from spare parts. Step-by-step plans for the hobbyist woodworker.
Disclosure: I may earn a commission if you buy through this link. It doesn't cost you extra.
Not ready to build a machine? Start with the shelf.
Build the corner shelf first with the jigsaw and template. You can always come back to the DIY Smart Saw the day you get tired of cutting the same curve by hand for the fourth time.
Take a look at the DIY Smart Saw →